How to draw with a grid
The grid method is simple. You put a grid over your reference photo, draw a matching grid on your paper, and copy one square at a time. Each square only has a few shapes in it, and that's a lot easier to get right than a whole face at once.
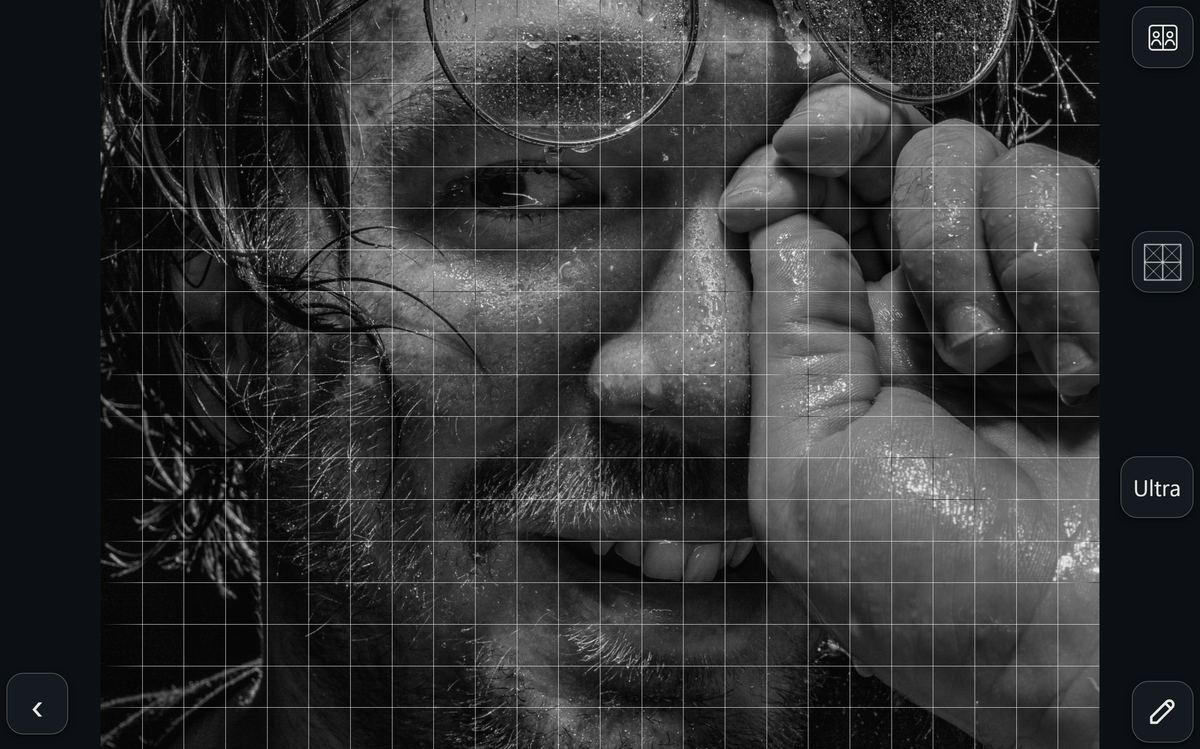
Is it cheating?
No. Artists have used grids for centuries. A grid only puts things in the right place; the shading is still all you.
Step by step
Crop the photo to your paper first. If the shapes don't match, the grids won't line up. Photorealism frames the photo inside your paper size, so this part is done for you.
Rule your paper lightly. Use a ruler and a hard pencil and barely press. Measure from one edge every time. Dots where the lines cross are enough.
Work one square at a time. Look at where the photo's lines cross each square's edges, mark those points, then connect them. See shapes, not a nose or an eye, or your brain draws what it thinks an eye looks like.
Check your neighbors. Make sure your lines meet the squares next to it before moving on.
Common mistakes
Pressing too hard on the grid lines (the dents stay white), measuring each square from the last one (the errors add up), and drawing detail before the shapes are right.
Questions
How big should the squares be? Small enough that the most important feature spans a few squares. More on the grid maker page.
Can a grid make the drawing bigger or smaller? Yes. Keep the same number of squares and change their size on the paper.
How do I keep my place? Mark Square lets you tick off squares as you finish them.