How to shade a drawing from a photo
The outline is the easy part. The hard part is shading, because a photo shows you the light, the shadows, the texture and the shine all at once. Looking at one at a time makes it much easier, and that's why I built the layers into Photorealism.
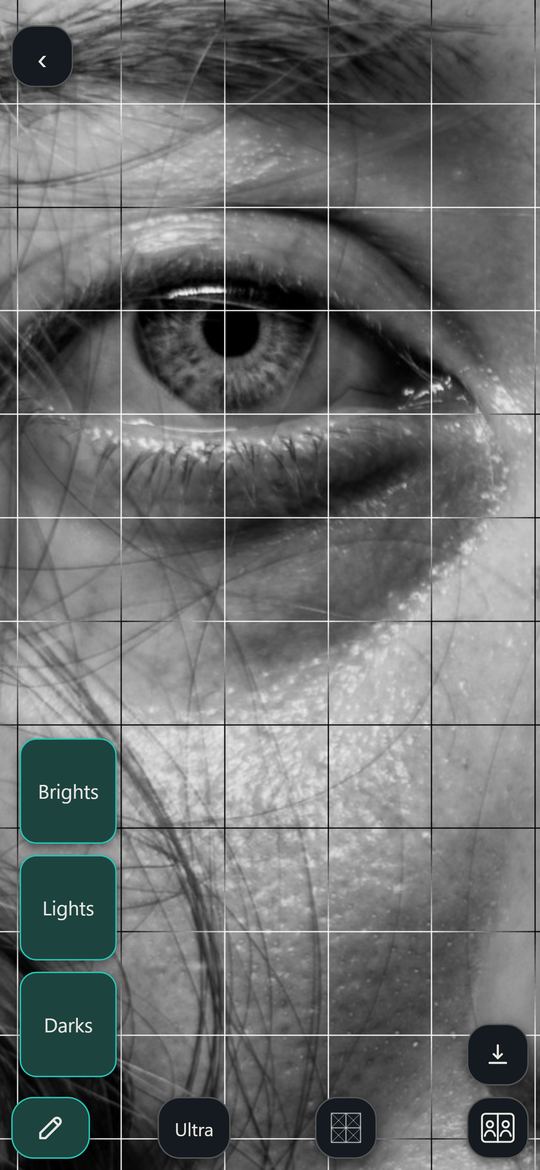
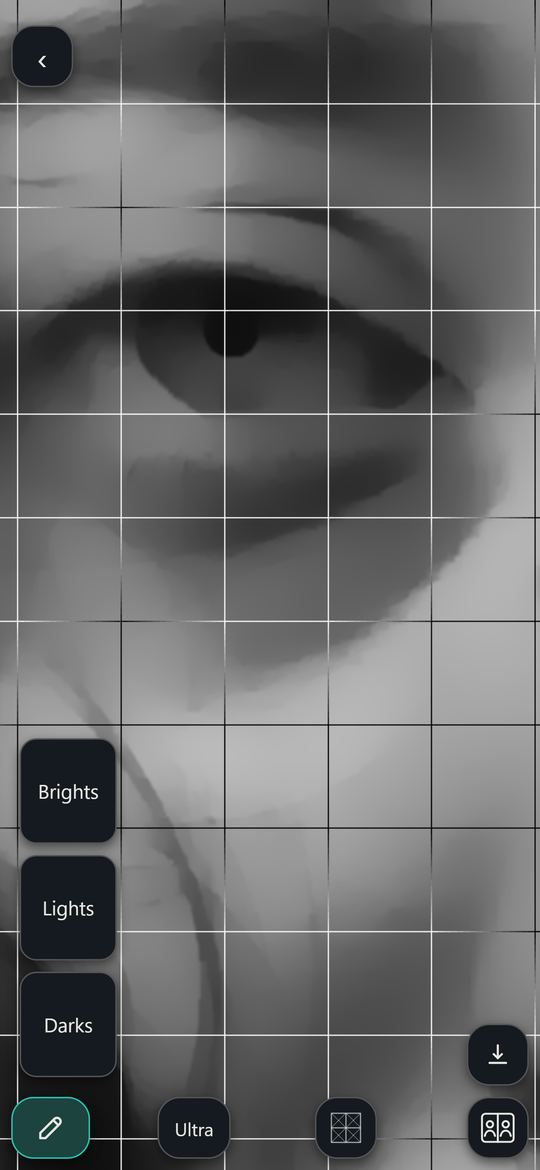
Start with the big shapes of light
Every photo has form, the big soft shapes of light that make a cheek look round, and texture on top of it, like pores, hair and wrinkles. Beginners jump to the texture, but if the form is wrong the drawing looks flat.
The shading layer is the photo with the texture smoothed out, designed exactly how I execute my shading in the studio. Open the pencil button and that's all you see. Get it down softly over the whole drawing first.
Then darks, lights and brights
Once the base is in, turn on the layers one at a time.
Darks are everything darker than the shading: deep shadows, pupils, the line between the lips.
Lights are the soft textures that's lighter than the shading, like the light side of every pore and wrinkle.
Brights are the strongest highlights, like the shine in the eyes.
If you're working in color, the color method splits the photo into darks, midtones, lights and brights instead.
How much detail to draw
You don't have to draw every pore. The detail setting (Ultra, Fine, Simple) smooths away the small stuff for smaller drawings, and the shading layer stays the same at every level.
Checking your values
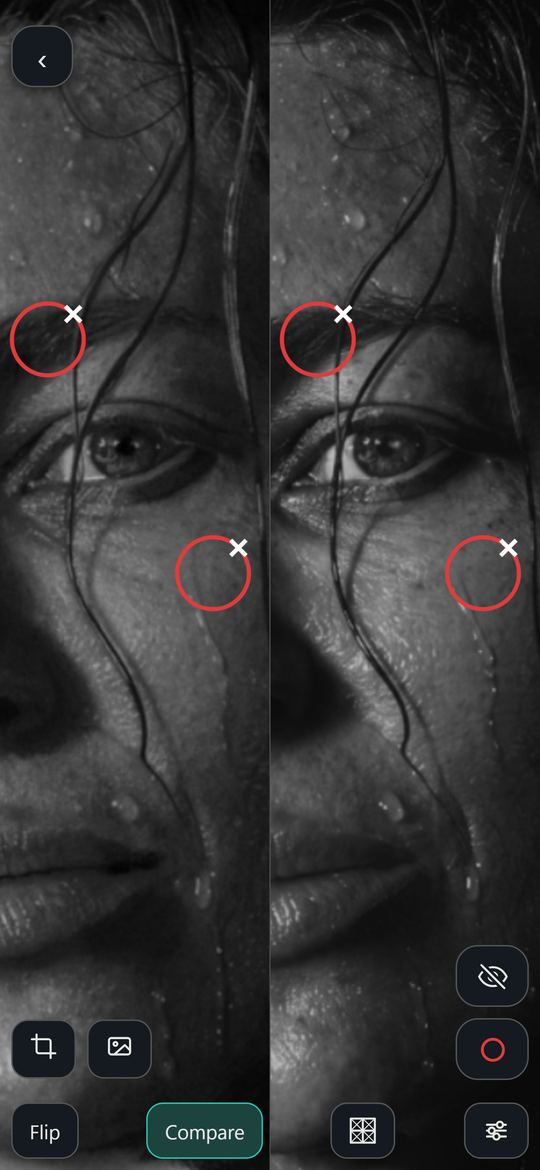
Values are hard to judge by eye. The compare view puts a photo of your drawing next to the reference, and red circles mark the spots that are too dark or too light. Squinting at both still works too.
Questions
What is a value study? A quick sketch in just a few values, like dark, middle and light, to see the big shapes of light. The shading layer is basically one done for you.
How do I see values in a color photo? Turn it black and white. That's what the black and white method in Photorealism is for.